Sharing my ongoing challenges of being a working mom doing my best to better myself, better my home, better my marriage and better my parenting skills. Come join me for learning tips and tricks to get in shape, enjoy art therapy lessons and learning ways to improve my family's lifestyle.
This is what I started out with. A plain yellow t-shirt the girls never wanted to wear. I picked up a stack of remnant fabric at Walmart with a cool variety of bright colors.
This is what I turned it into...it only took me about 1 1/2 hours (with MANY interruptions I might add).
The girls were thrilled and started arguing over who was going to wear it first. No problem! I'm making another one...so I told them they'd have to wait until that one is finished. The colors are much brighter than they appear...poor quality pic with low lighting.
I'm off on a new adventure in art...I've signed up for 21 secrets, an art journal playground. Check it out at.... http://21secretsspring.ning.com/
So an update...I am loving this experience. The videos are full of so many new techniques and inspiration...I just need to get started myself! As usual...too many projects going on...I need to finish the second t-shirt project and then I'll dive in to the art journaling I've been learning about. I will share...I promise.
I just wanted to write to say how thankful I am for everything I have. I have a job, I have a roof over my head that isn't in an upside down mortgage, and I have a healthy family. Today I received a lot of bad news at work...something that reminded me to be thankful, and to show gratitude for what I have in my life. I don't live in a mansion or drive a big fancy car, but I do have a true friend for a husband, a loving extended family and great friends to laugh with. I think we all need to be reminded, especially in these times of economic strife, to be thankful for the things that are truly important. We don't need designer clothing, leather furniture or a granite counter top to be happy....we need love, support and laughter. I pray for all that need more of those three things in their lives, rather than pray for material things that do nothing but eat up our savings and only enhance our outer lives. Have a loving, supportive and laugh filled day.
I have decided to embark on An Experiment in Gratitude...a 30 day journaling about the things I am grateful for in my life. I found out about it at http://anexperimentingratitude.com/theexperiment/
The Experiment is totally for you if:
You really are fed up with feeling like you’re wasting your life away feeling totally crappy (frustrated, angry, pissy) about it all.
If you know, at least intellectually, that there is more & that it’s available even to you (IT IS!).
If you’re open to the power of gratitude to effect change in your life.
If you’re willing to put in the little bit of time and effort that it does take.
So I am DOING it!!! I'll tell you about my results in 30 days!
I’ve been saving a collection of Bawls guarana bottles for the day I can figure out how to cut the necks off and use them for something spectacular. The cobalt blue color of the glass is exquisite, and I know I can figure out some way to make a light fixture, drinking glasses, vases, etc.
But first, I have to cut the bottles, right? Myself, of course.
This weekend I tackled the job after looking on the Internet for glass-cutting ideas that I hadn’t already tried. I’d tried the string with alcohol method of bottle cutting, but always got a jagged edge.
Here is what I finally did. Actually, here are two ways I succeeded in cutting off the necks of my guarana bottles cleanly and cheaply and self-ly.
The first way was to use a tile saw. Plain and simple. I taped off where I was going to cut, but as it turned out that didn’t make any difference. The key was to clamp the guide down so all the bottles would be cut at the same place on the neck. Then turned on the saw and SLOWLY sawed through the glass bottles, rotating them as I sawed.
The cut is fairly clean. It does need a bit of sanding, and I wouldn’t use these glasses for drinking, but I will make something spectacular out of them. None of the bottles broke or cracked with this method. So if you’re looking for an almost-clean, but sure way to cut a glass bottle, the tile saw is your answer.
Easiest Way to Cut Glass Bottles
The next method was easier, cheaper, and cleaner, but not as certain in results. Some of the bottles cracked and had to be tossed, but most of the bottles had a perfect cut. As you’ll see in this video, I used a cheap glass cutter (about $3) from Ace Hardware, taped it to a cake pan, and used it to score a line around the neck of the bottle where I wanted it cut. Then I poured boiling water on the scored line, ran cold water over it and, voila, the neck simply broke off. You can’t get simpler than that!
I found a great place to find free stuff as well as a place to get rid of things that no one else will take, and it helps me reduce what ends up at the dump. Check it out!
I found the coolest site where you can upload and Warholize yourself, or others in a pic! Check out Pop Art Poster at http://bighugelabs.com/popart.php.
I have to say that I have treated myself to one of the most awesome on-line experiences ever! Soul Restoration II through Brave Girls Club. See below for the info...and no...I have no incentive in posting this info other than knowing what an incredible adventure you'll have.
Soul Restoration 2: creating the life you want to live…the life you will LOVE
Are you ready to move forward? I AM!! Soul Restoration 1 got us all unstuck, healed and on track…and now we are ready to fly!
Join me and the fabulous Brave Girls Club team as we take you through a super fun, effective and artsy journey to create the life that you really, truly want…the life that is intended for you…and a life that you will love!
Through art and projects, we will be making tools that will help you identify your goals, commit to your goals and break your goals down into bit sized chunks…and before you know it, you will be doing all of the things you’ve always wanted to do.
NO MORE EXCUSES, ok? I’m putting my excuses away….I am ready to feel ELATED at the end of each day because of how I spent my time, I am ready to do what it takes to live the life that I truly want to be living. I am ready to stop wasting time, stop procrastinating and make a REAL PLAN. I know you are ready too….LET’S DO THIS!ace
This is definitely something I need to get my mom onto...she loves genealogy but since her stroke has been dormant. She needs something to do and this site hits the spot, I think.
Great resource on creating your own chipboard creations and saving a lot of money! You can save even more if you recycle chipboard from cereal boxes, pasta boxes, etc., cut out your shapes and embellish yourself! Way to save some trees and money at the same time! Creativity Prompt – Embellishing Raw Chipboard shapes | Creativity Prompt
What a great idea for old magazines! I can think of so many shapes that can be made, and something easy and fun for even kids to do on a rainy Saturday.
Well...I seemed to have fallen off the face of the earth there for a while. I was finishing up a graduate course and things got hairy at work. I will follow up, hopefully this weekend, with after pics for a couple of my projects. I also wanted to share that I am taking the summer off from graduate school to focus on creativity and signed up for Soul Restoration II - check out Brave Girls Club on line and read all about it. I am looking forward to learning new artistic techniques and meet many other closet artists like myself. I'll keep you posted.
My husband calls me the ADHD DIYer because I can't just have one project going on at one time, I have to have three or four! Actually, I'm just a multitask-er who doesn't like sitting around and waiting for the paint to dry (literally or figuratively) on a project so I get busy on another one. The downside is that sometimes LIFE gets in the way (like finding out right after the honeymoon I was pregnant with twin girls!), and projects get haulted. What I really hate is walking by day after day and seeing all these unfinished projects, so when I get a chance (and I took three days off from work this week to do so), I want to cram as many projects in as I can. So - you ask, what is the latest project? Chalkboarding one of my daughters' future bedroom closet doors. I didn't take a before pic but I do have an "in progress" pic to share. The doors were primed before hand and I will warn you that chalkboard paint STINKS!!! It also requires a 6 hour, YES 6 hour, wait before I can apply a second coat...and the way it looks now, I think it's going to take 4 or 5 to get the true effect. I'll keep you posted.
Here's some after pics...the girls love them!!! Can you tell they've been going to VBS this past week?
I always wanted a trunk. My mother had one that she dragged around the globe and back, and I remember her storing old costumes she and my dad had from the 60s; so fun to play dressup in! She even had old fancy shoes and cocktail dresses she'd worn way-back-when that she also stored in that trunk. My poor husband drove all over the foothills to find one for me; he hit every antique shop he could find, and finally found one...but it was painted a hideous brown, as you can see from the BEFORE photo. We store art stuff in this trunk; it sure doesn't reflect it on the outside though. I talked my husband into digging out the sander and I'm ready to start!
Well...I've learned a lot already in a day. I wasn't sure if this paint was oil or water based and I googled how to tell the difference and got a tip. Dampen a cotton ball with alcohol and rub a small area, if the paint comes off it's water based, if it doesn't then it's oil based. Ugh!!! Well, I first thought.."great, now what do I do with this water based black paint?" Then I googled and saw several recommendations for a primer called Zinnser Primer for All Surfaces. Went down to Lowes, found it and slapped a coat on it and this is what it looks like now...unfortunately it calls for a 24 hour waiting period before applying paint to the surface, though it dries in 30 mins. So glad it does dry fast as I did this indoors and just as I tested to see if it was truly dry the rain started coming down and I had to let my dogs inside. Luckily, it actually did dry in 30 mins.
I actually like the high gloss finish and label...that's all that goes in this trunk now...art and art supplies! So much better looking now.
As I promised, here is that wonderful book I used to help face paint all the party goers at my daughters' birthday party a few years ago. It was a lot of fun! I will post some of my pics for you soon.
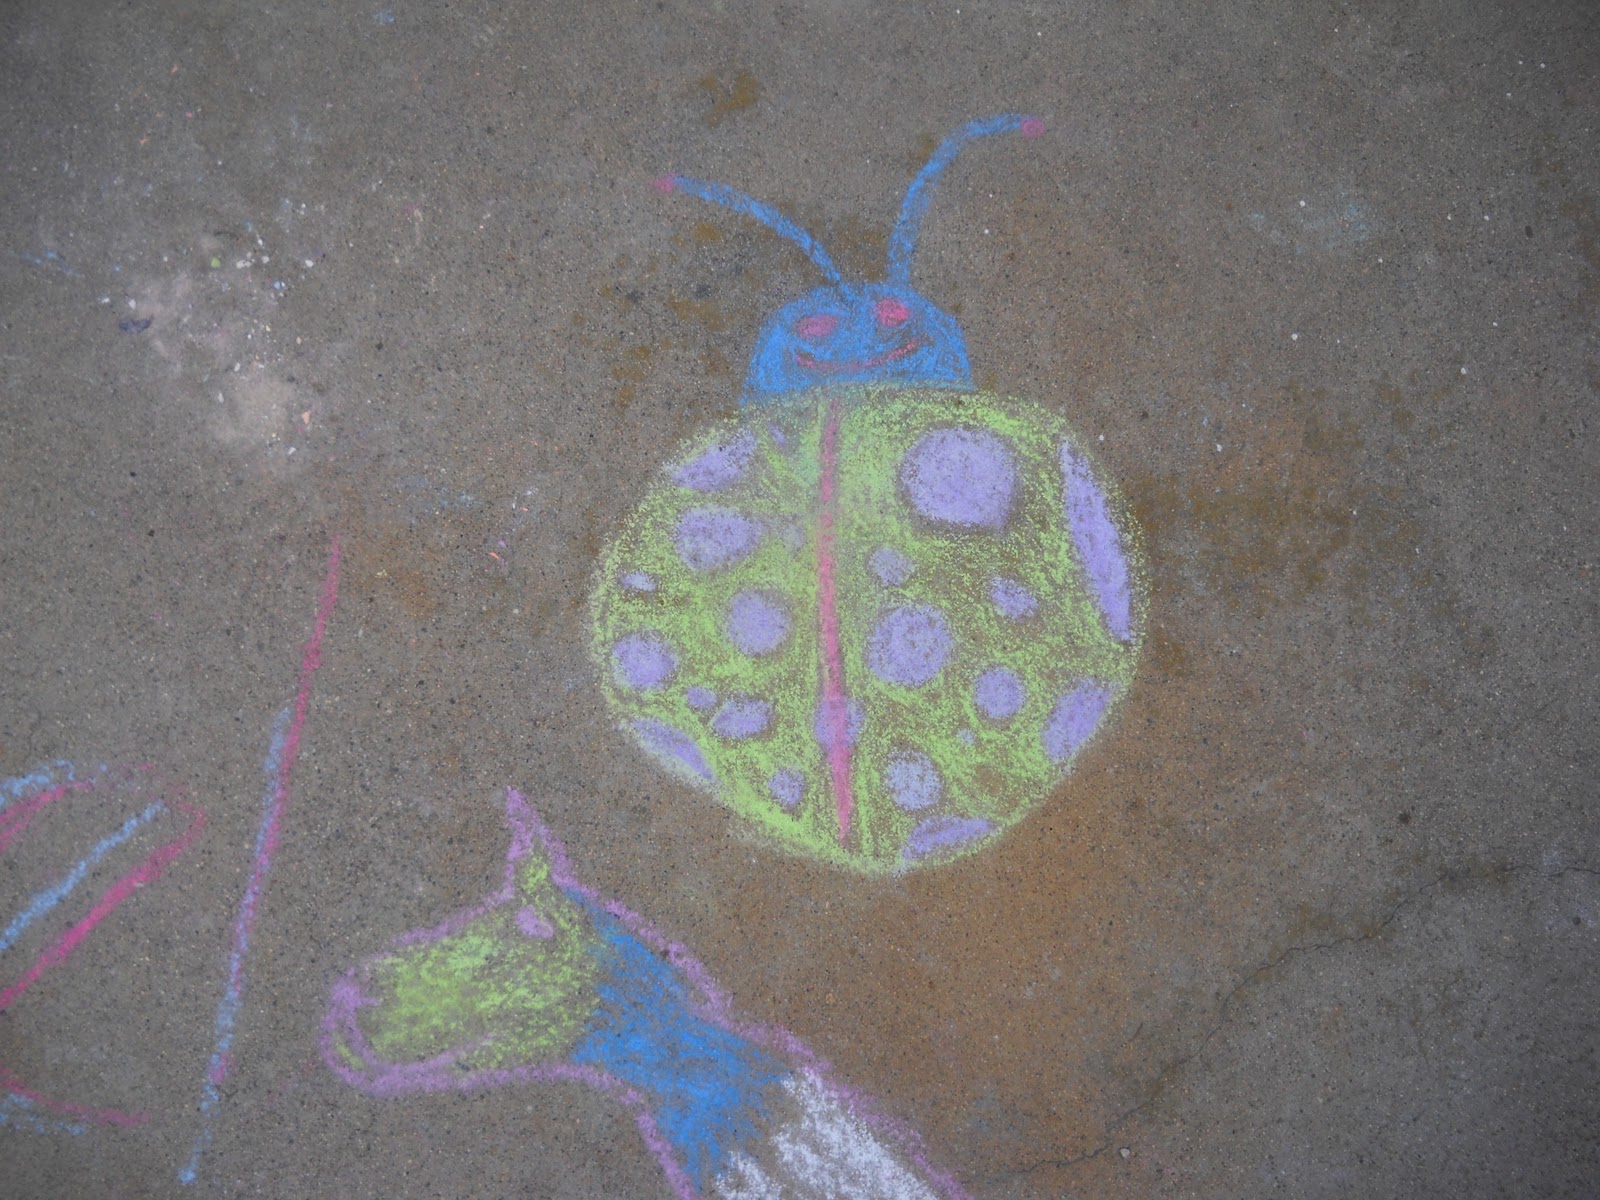
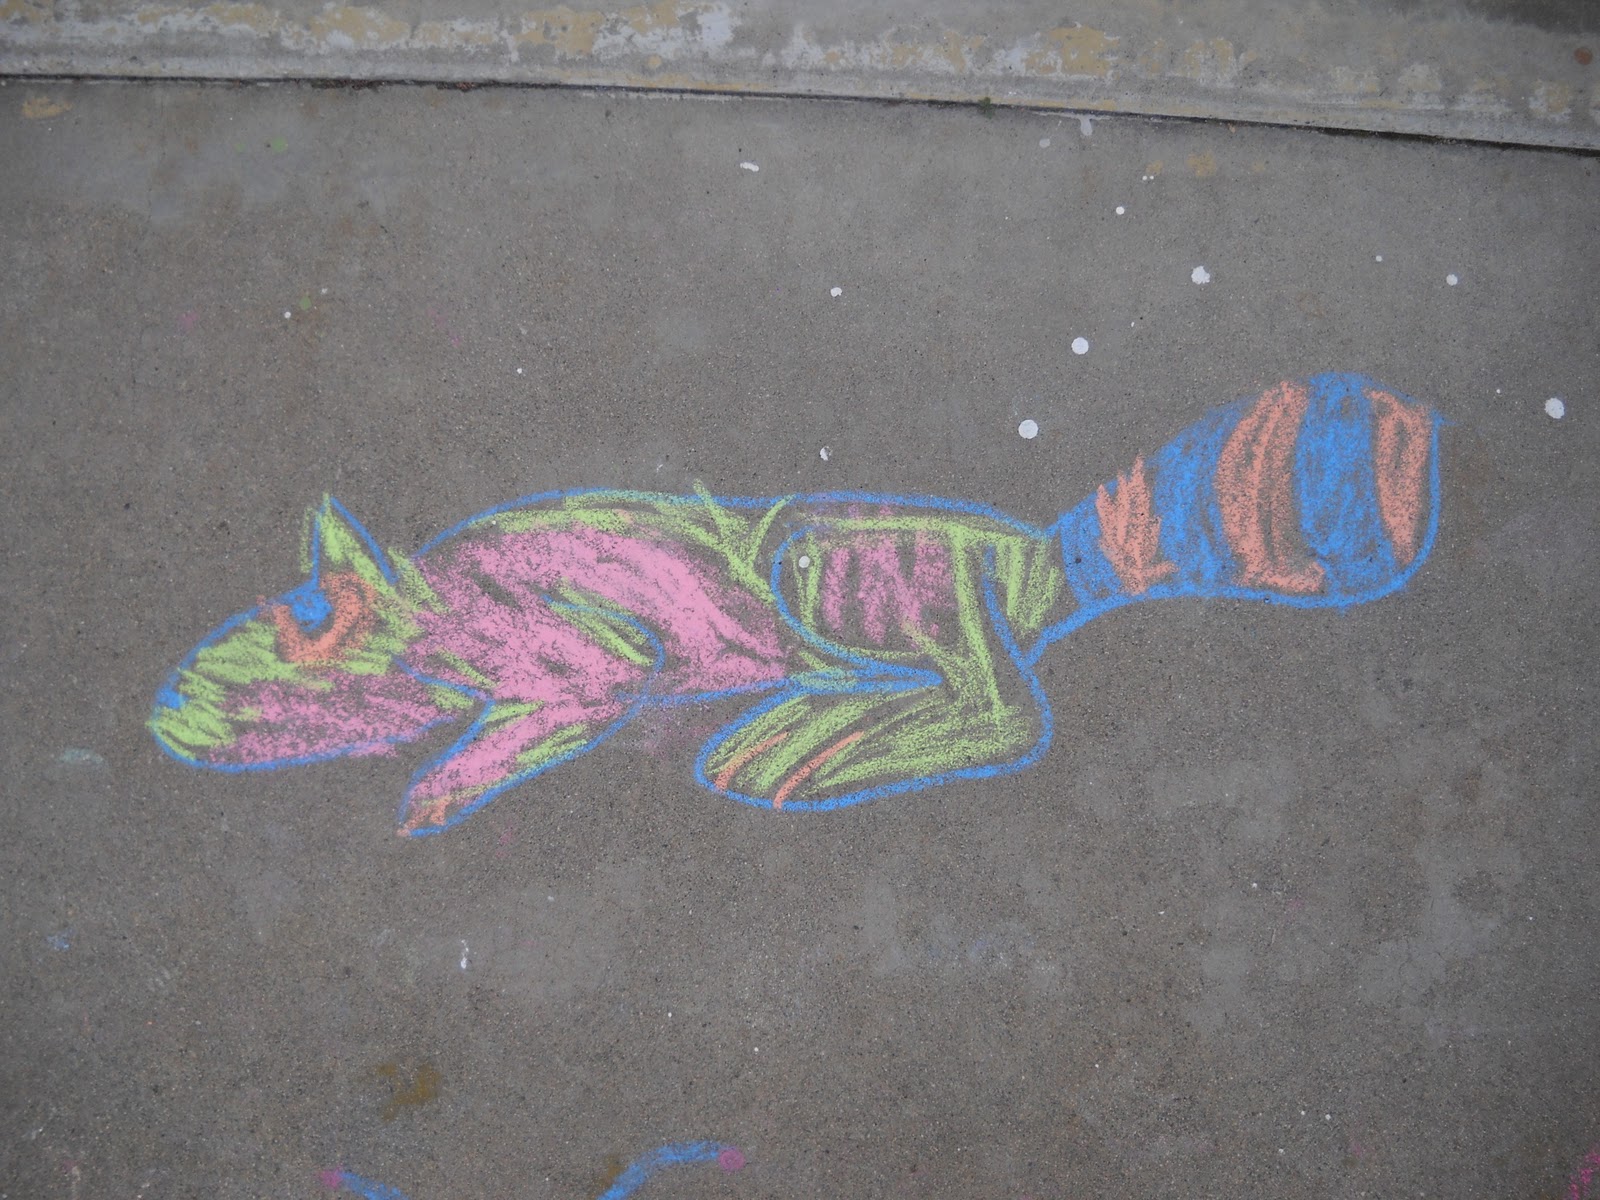
We've had a lot of rain lately, here in the zinfandel capital of the world, but when the sun finally decided to come out the girls took advantage of it with some chalk and greeted her with colorful art all over our driveway and sidewalk. Sadly, when the rain came it washed it all away...but we're waiting for another sunny day to do it all over again!